Tuesday, May 24, 2016

Garden chores: Planting!!

Finally, finally!! The Victoria Day long weekend arrived and it was spectacular. Mother Nature, all is forgiven! It was the perfect weekend for doing what we in Southern Ontario traditionally do -- plant our gardens.

This weekend is one of the busiest for garden centres in the region, so crowd-adverse as I am, I bought everything I needed ahead of time and stayed put in the peace and quiet of my own back yard.


In a previous post, I mentioned the concept of "square foot gardening" as described by Canadian gardening guru, Mark Cullen, in his excellent book "The New Canadian Garden". As its name states, square foot gardening involves dividing a garden plot into equal 1 foot by 1 foot squares and planting different things within each square.  This provides an excellent opportunity to practice another great gardening concept: companion planting.

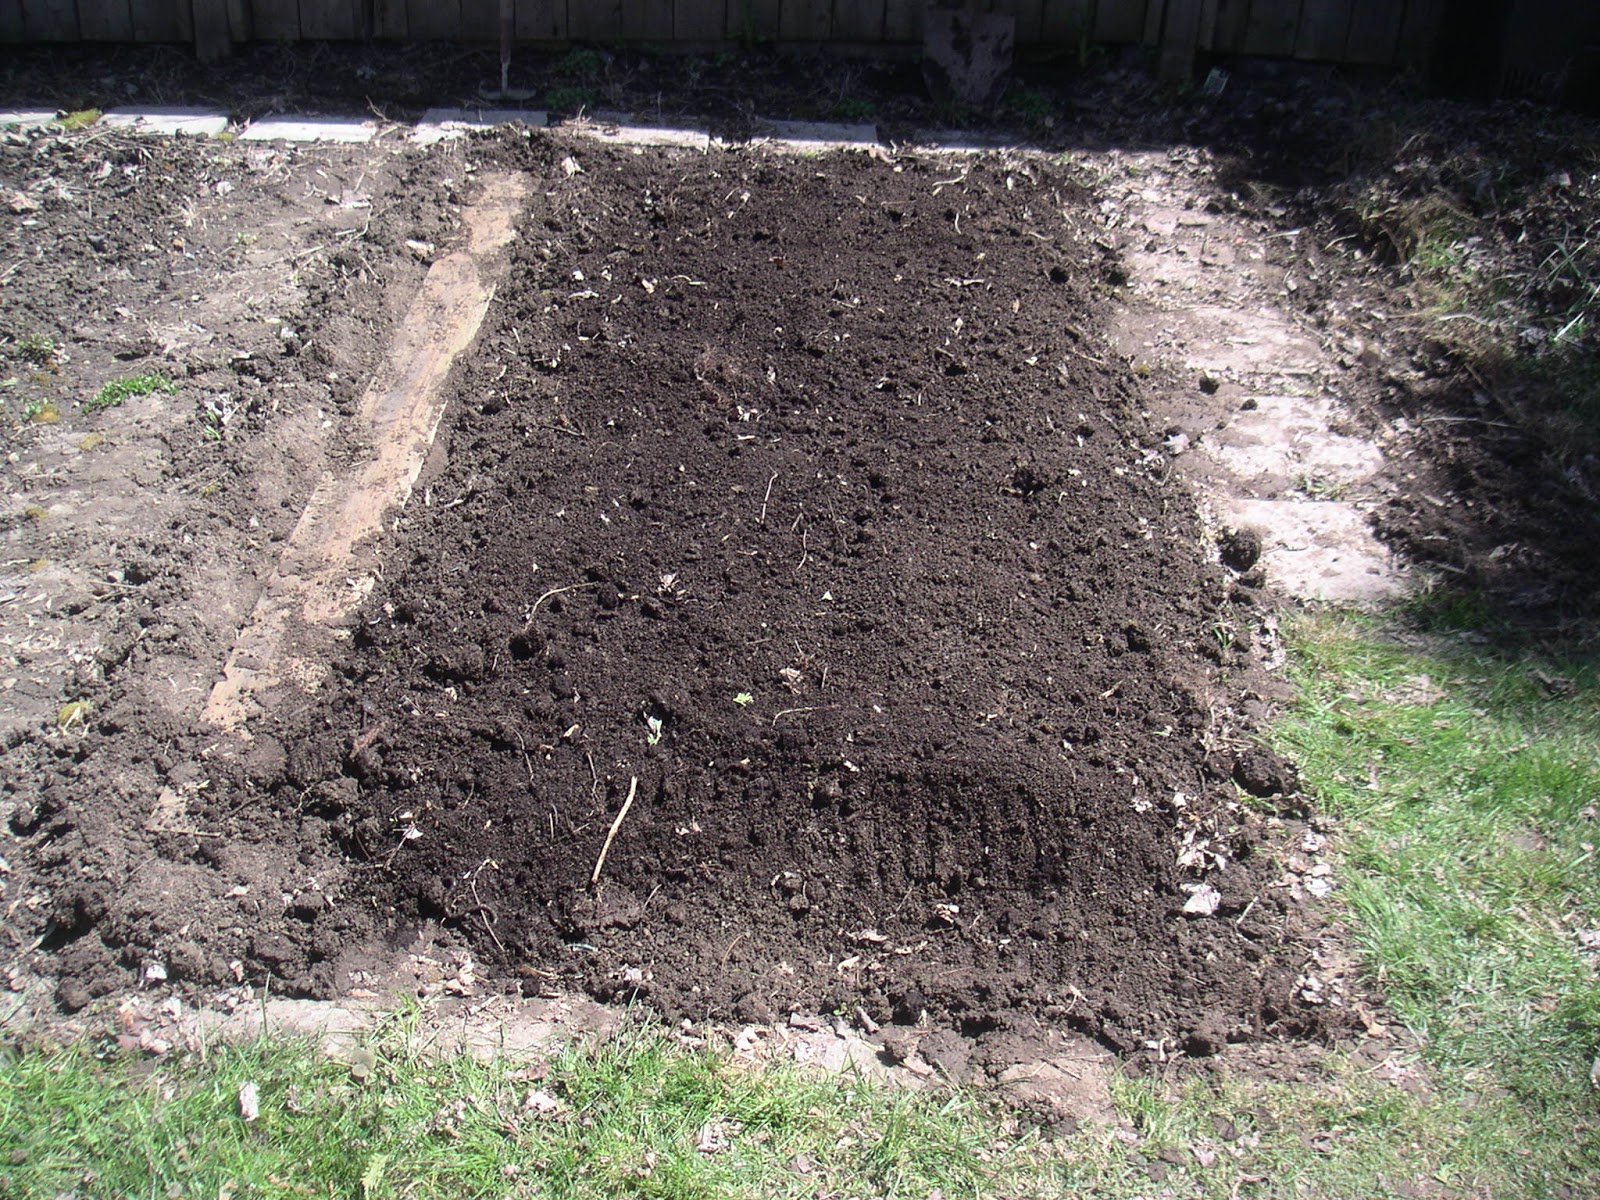
First things first, though. I needed to divide my garden beds into 1-foot squares, so using bamboo stakes and some twine, I did just that:


The soil looks so dry in this photo, but it's only the surface because it's been in the sun all day.  The garden itself has been well watered and is still quite moist beneath.

Now that I have the grid laid out to guide my planting, I can sit back with a glass of wine and plot out where to plant what.


Sitting on my deck in the shade of my gazebo, I first draw diagrams of the two garden beds I am going to plant using the square-foot model. Next, I list all the various seeds and plants that will populate these two beds and, using the convenient companion planting chart in Mark's book, I mark on the diagrams where to plant or sow each plant or seed. Fortunately, nothing I am planting (tomatoes, carrots, lettuce, peas, peppers, rosemary, Italian parsley, garlic chives) are antagonistic to one another -- they are either beneficial to one another (carrots and tomatoes, for example) or neutral (any of the vegetables versus any of the herbs). So, laying out where to plant what was more a matter of how many seeds/plants I had of each type and how much space each would need as a fully grown plant.


That done, I decided it was late enough in the afternoon to call it a day and so I poured myself another glass of wine, sat on my deck, put my feet up and relaxed into a glorious spring evening.

The next day, I got busy and, using my diagrams as a guide, gathered all the seeds and seedlings together and brought them down to the garden to be planted.


I placed the pots of each of the seedlings and purchased plants in their assigned squares so I could go around planting each of them in turn without having to continually reference the diagram. I placed cages around the determinate Oroma tomato seedlings so they would be identified as such.  In this post from last year, I mention how determinate varieties of tomatoes like Oroma only produce fruit for a certain length of time before the plant dies off whereas indeterminate varieties like my Roma, Opalka and Black Brandywines will keep on producing fruit as long as you keep harvesting up until frost finally kills the plant.


I now have 5 different heirloom tomato varieties, all non-GMO:  Oroma, Roma, Opalka, Black Brandywine, and a cherry version of Black Brandywine that appeared in my garden on its own for the first time last year.  I saved seeds from it, along with my other varieties, processing them for storage over the winter. I am thrilled that all the seeds I started earlier this year have grown into strong, healthy seedlings and I am terribly excited to see if the Black Brandwine cherry tomatoes actually produce cherry tomatoes again in a second generation. Stay tuned.

For now though, in order to identify the various types of indeterminate tomatoes, I borrowed from the masking tape flag manoeuvre I used earlier on clothes pins to identify started seeds. Since indeterminate tomatoes grow on ever lengthening vines, I find these handy metal spiral stakes make great supports for them as you can wind the plants into the supports as they grow. Consulting my planting guide, I've selected enough spiral supports for each of the indeterminate tomatoes I am planting and I have marked each at the top with a masking tape flag identifying the tomato variety.


Once all the seedlings and plants have been planted and any necessary supports installed, I again consulted my planting guide and sowed seeds for heirloom rainbow carrots, non-GMO Scarlet Nantes carrots (large, nicely cylindrical and great for slicing and freezing), red, green and mixed heirloom lettuces, dill and garlic chives.  Using cedar woodworking shims bought in a bundle from Home Depot and a black permanent marker, I made and installed name tags for each of the planted areas.


And again, labours done for the day, I sat on my deck with a glass of wine and admired my efforts! Looking at similar shots to this one above from last week and the week before, I am again struck by the difference a week makes and how the garden has filled in.

According to the weather forecast, we are supposed to be in for a lovely week with higher than normal temperatures and only the occasional shower. I'm hoping it turns out to be true, but frankly I'm just happy to be on vacation this week and now that the vegetables are planted I can turn to cleaning up the rest of the yard and planting the marigolds and thyme to keep the raccoons at bay.  It may be still early yet, but I haven't noticed much evidence of them yet. I like to think that it's all the garlic I've planted around the yard (I even threw some over the back fence and into the bushes and I see it's starting to flourish there in the shade), but that's probably just wishful thinking on my part. The urban raccoons of Toronto are legendary in their craftiness, so it's just a matter of time before they pay me a visit, I'm sure!


Sunday, May 15, 2016

Garden chores: vegetable bed preparation

It appears Mother Nature continues to want to toy with us. It's been a little cooler than normal for the last week or so, but still quite pleasant. Until yesterday, that is, when it started to feel like winter was back upon us!


Next weekend is the long Victoria Day weekend in Canada and is the unofficial first long weekend of the summer season. It is traditionally the weekend where those of us with gardens plant them with seeds and young plants either purchased or started indoors. It's one of the single busiest weekends for garden centres here in Southern Ontario.

In preparation, I needed to get the remainder of the vegetable bed ready for planting, so I got busy digging.  Over the course of the day, however, a chilly breeze rose up and developed into a cold wind. A front was moving in bringing cold rainy weather with it.


While I was digging, I noticed rogue raspberry canes and daylilies were once again growing under my neighbour's fence and getting quite large. I have other plans for this area, so I decided to dig them up before they got any bigger and pot them up to donate to the upcoming annual sale of the garden club my friend Colin belongs to.


The newly dug bed measures 7 feet wide, which is perfect to split into two 3-foot beds. I had dug the first 3-foot bed a couple of weeks ago and planted it with peas which are now just starting to sprout. Together, these three beds form the footprint for three raised beds that I am planning on constructing this fall ready for next year.


So, all I needed to do was place a spare deck board between the 3-foot and 4-foot mark to divide the newly dug area into two 3-foot beds. Once I had sown a few more peas for succession planting, I was done! Cold and tired, I retreated into the house, took a nice hot shower and settled in for the evening.

The weather forecast was calling for near-freezing temperatures overnight last night and another chilly day today, so I took no chances and brought all the seedlings inside. As the forecast turned out to be correct and it is not exactly a beautiful spring day out there today, I'm glad I did! The long-range forecast is calling for warmer temperatures by mid-week and a warm, sunny Victoria Day weekend.  I sure hope so!


My day's labours done, I couldn't help but take this shot of the garden to show that, despite the cooler weather lately, the difference in growth over the course of a week is amazing at this time of year. It never ceases to captivate me!


Friday, May 13, 2016

Pantry in Action: Vegetable Barley Salad

The "Pantry in Action" series shows creative ways of using all the wonderful food we've preserved during the year. I will include recipes wherever appropriate with links back to the post(s) where a particular ingredient (or ingredients) was canned.

Always on the lookout for healthy eating choices, I was recently inspired by a co-worker's lunch of tabbouleh, the Mediterranean/Middle Eastern salad of tomatoes, parsley and bulgur.


Arriving home last night, I rifled through the vegetable crispers in the fridge and thought, "Why stop at tomatoes and parsley?". I discovered I had a red bell pepper, a yellow bell pepper, a couple of green zucchini, some celery, a bunch of asparagus and a red onion in addition to a large tomato and a bunch of fresh Italian parsley.

And not having any bulgur I spied some pot barley hiding at the back of the cupboard and thought "Why not?".


So, I began by cooking the barley the way I do rice -- a 2-to-1 ratio of cooking liquid to grain -- in this case using 2 cups of homemade chicken stock to 1 cup of barley, bringing it to a full boil and then covering and turning the heat down to low, leaving it to gently cook until tender, about 15 minutes. Pot barley, because it has most of its bran intact cooks up a little chewier than pearl barley or other processed grains, so don't think that it isn't cooked if it still feels a little firm.  Do a quick taste test -- it should be firm but tender with a nice chewy bite.


While the barley was cooking, I got busy and chopped all the vegetables into an even dice of about 1/2 an inch. The parsley was chopped finely. I heaped everything into a large mixing bowl and then went about concocting a dressing.


One the quickest and easiest salad dressings I've come across, and one that I make frequently just because it's so quick and easy and tastes so good is simply olive oil and red wine vinegar, emulsified with a little Dijon mustard.


For years I've had this little 4 ounce jar that originally held chopped garlic in oil. It's absolutely the perfect size for shaking together enough salad dressing to nicely dress a large bowl of salad for 4 people.

The basic ratio is one half jar of olive oil, one third of red wine vinegar and a large heaping tablespoon of Dijon mustard. Pop the lid on the jar, give it a good shake and voilà -- lovely salad dressing!


Pour about half the jar of dressing over the vegetables and toss to coat evenly. The bowl I'm using has a tight fitting lid that allows me to shake the whole thing together. Once the vegetables are nicely dressed, add the cooked barley and the rest of the dressing and mix everything together.

The greatest thing about this salad is it's complete flexibility. Like my Beans, Greens and Grains Bowl, you can just about throw together any combination of vegetables, greens and grains and call it good.

Same thing with the dressing. You can switch out the olive oil for canola, vegetable or a combination of oils, perhaps including a bit of toasted sesame oil for a little Asian flair. Try fresh lemon or orange juice in place of the vinegar.  Or, omit the mustard and just shake it together and pour. The possibilities are endless!

You can find the basic recipe here along with a few variations.

Wednesday, May 11, 2016

Garden chores: topping up soil, planting new perennials, starting the pond

I realize this is a few days after the fact, but this past weekend was just glorious for working in the garden -- lovely and sunny, but not too warm.  Truth be told the breeze was actually rather chilly if you were just sitting out, but if you were up and about it was quite pleasant.


The cherry tree is starting to bloom and it looks like it will be covered in blossoms shortly! Nothing screams "May" to me more than cherry trees in bloom. If I can keep the birds away, perhaps I'll have another decent crop of cherries this year.  We'll see!

Meanwhile, back in March I ordered a load of perennials from Vesey's. Typical of me, I was entranced by all the gorgeous pictures and ended up ordering way more than I really needed, but they're all so stunning, at least their pictures are, that I couldn't resist!  Anyway, a week ago Tuesday, a banker's box arrived on my doorstep, firmly packed to capacity with sprouts, crowns and roots that really needed to be planted immediately, however I knew I wouldn't have time until the weekend, so following the included planting guide, I left the box in a cool shady spot under my deck in the meantime.  

I must say I am impressed with the quality of Vesey's plants as well as their packing and packaging. Bare roots and crowns were packaged in breathable plastic bags filled with sphagnum and sprouts were packaged with root balls intact in breathable plastic inside clever cardboard tubes with pushed-in locking strips that prevented the root balls from shifting and/or breaking apart.

So, here's what I got:


And they all needed to be planted a.s.a.p.!


But, of course, this wasn't just the simple task of planting roots, crowns and sprouts in the garden. No, I had garden renovation work to do first.  Several of the hostas I bought were earmarked for around the pond, but before I could plant, I needed to rebuild the waterfall and build up the soil in the rock garden behind it. The waterfall leaked terribly, so I had turned it off last year with every intent of repairing and rebuilding it then, but, as usual, other things got in the way so I never did get to it until now. 

Anyway, after much putzing around with the placement of the rocks and positioning the water hose, I got the waterfall working to my satisfaction and added soil to the top of the rock garden ready to receive the hostas.  To the left of the pond along the edge of the patio, the soil level of the garden bed had dropped a few inches over the last few years, so I needed to dig up the current residents (a rather large sedum and some coral bells), top up the soil and replant them along with more of my new purchases:  the bee balm, more coral bells, the alstroemeria and the butterfly flower, edging the bed with the pinks.  In addition, I moved an astilbe from the other garden bed where it was being crowded out by a spirea bush into this bed where hopefully it will set off the coral bells and the alstroemeria. As for the phlox, I planted them further up along the fence, joining a huge hot pink phlox I had planted years ago.


And since my deck is rather sheltered and the weather went back and forth between sun and cloud, I thought I would bring the tomato and marigold seedlings out of the greenhouse so they could enjoy the open air for a couple of days.


All in all a good day's work and even though it threatened rain off and on all day (it actually did sprinkle for a moment or two!), the garden was bone dry, so I put the sprinkler on for a few hours. The rhubarb is shooting up nicely, but so far nothing from the peas down at the bottom of the garden. The seeds I planted are a couple of years old and perhaps they are no longer viable. I do have some new seeds that I will plant this week and hopefully they will soon be sprouting up.

Now that all the crucial planting has been done, I can turn to digging the remainder of the garden this weekend and get the soil prepared for lettuce, carrots, the tomatoes and cucumbers as well as the marigolds and some more thyme to help deter the raccoons.

Spring is such a marvelous time of year. Everything is fresh, green with new life sprouting forth and it's just so wonderful to see the world waking up after a long, cold winter!


Monday, May 2, 2016

Garden chores: transplanting rhubarb, sowing peas

With another beautiful Saturday upon us, I got an early start to the day because there was I lot I wanted to accomplish. While the coffee was brewing I got busy and set up my portable greenhouse.


I bought it at Lowes and I've been using it now for a few years as a sort of cold-frame in which to harden off seedlings in after they come up from under the lights of the nursery. I initially set it up in the dining room to hold court until later in the month, but after checking the long-range weather forecast (like THAT'S ever right!), decided to take a chance and put it out on the deck where it will get full sun.

Tomatoes, zinnias and marigolds out in the morning sun!
I only had managed to up-pot my Black Brandywine cherry tomatoes at this point, so I brought them up and put them out in the greenhouse.  I am keeping the zinnias and marigolds in their cellpacks until I plant them in the garden, so I brought them up and put them in the greenhouse as well.  I cut open a white plastic bag into a flat sheet and ran it over the top of the greenhouse frame, but under the clear plastic cover to act as a diffuser to protect the seedlings from the harsh mid-day sun.


Meanwhile, back in the nursery there's space now for me to start some more marigolds, some pickling cucumbers and a bit of dill to go with them. I made a killer batch of garlic dills a couple of years ago and I'm hoping to do it again this year!  It rained on Sunday so I spent it up-potting the remaining tomatoes and putting them out in the greenhouse and then got busy and planted the marigold, cucumber and dill seeds as well as some mystery seeds my friend Colin gave me.  He thinks they may be Russell Lupins, but we will see.  It will be interesting if they are because I have never had much luck with them.

Anyway, I had the greenhouse out on the deck and the tomatoes, zinnias and marigolds were now in it and the coffee was ready, so I poured myself a mug and took it outside to survey the site.


This is where the rhubarb has lived for the past 3 or 4 years and it's never done very well.  I get lots of stalks, but they are all small and skinny.  This spot doesn't get much sun.  It was about 8:30am when I took this picture and you can see the shadow from the shed already starting to creep over the bed. I had been wanting to move them for a few years now and today was the day!


This is where the rhubarb will live from now on.  I used my trusty garden claw to turn over a bed alongside the cherry tree.  This photo was taken at the same time as the one above and within an hour or so it will be in full sun.  Since rhubarb is a rather heavy feeder and likes compost and composted manure, I will dig some of each into the bed prior to moving the plants.


My compost pile hasn't seen much action over the past couple of years, so it was ready for a good digging. A couple of wheelbarrow loads of compost and three bags of manure and the bed was good to go!


Snug in their new home!  And you can see the sun is just about over my neighbour's fence and it's not even 9:30am at this point.  With all this sun and lots of nutrients, I'm hoping to get some glorious big rhubarb stalks this year.

Next up were the peas.


I've been reading an excellent book by Canadian garden guru Mark Cullen called "The New Canadian Garden" and a couple of points have inspired me.  One is raised beds.  Although it would be a bit too much for me to build raised beds for this year, I will look into building them this fall in time for next year.  So, in preparation I decided to measure out plots where the raised beds will go in the hopes of maximizing the available garden real estate. Three feet wide seems to be optimal which allows you to reach all plants without having to bend or stretch too far.  I've decided to make mine 18" high instead of the usual 12" to allow me to accumulate more good soil and lessen the amount I have to bend to tend to my plants.

So, using a tape measure and a long stick as a guide, I mapped out and dug a 3-foot wide bed for my peas.


I used the garden claw to loosen and turn over the soil as well as remove weeds (which it does wonderfully!) and dig in some more manure and compost.


A couple of years ago, I devised this system of drilled wooden posts strung with twine to act as supports for the peas as they grow.  This picture shows everything in place with peas already in the ground.  I will continue to sow a few more peas every 2 weeks until the end of June so I will have a supply of peas throughout the summer.

This coming weekend, weather permitting, I will dig the other beds and plant some lettuce and carrots using the other point I picked up from Mark's book: square foot gardening.