Sunday, August 28, 2016

Disappointment

It's a bit of a downer to title a post "Disappointment" but that's essentially what I'm feeling right now after having spent all morning canning. If you put up food on a regular basis, every once in a while you are bound to have a disappointing session. Today was one of those.

I always have the grandest plans when it comes to canning (as well as a lot of other areas in my life!) and so I figured it would be a snap to do the strawberries and rhubarb, followed by the peaches I bought yesterday from the farmer's market and then the collected tomatoes from my garden.


It all started encouragingly enough -- a beautiful, sunny Sunday morning, fresh Ontario strawberries and rhubarb.


The rhubarb was gifted from my friend Fred and he thoughtfully had trimmed, chopped and frozen it for me, so all I needed to do was thaw it and put it a large pot. The rhubarb released a lot of its juice during the thawing process, so there was no need to macerate it in sugar.


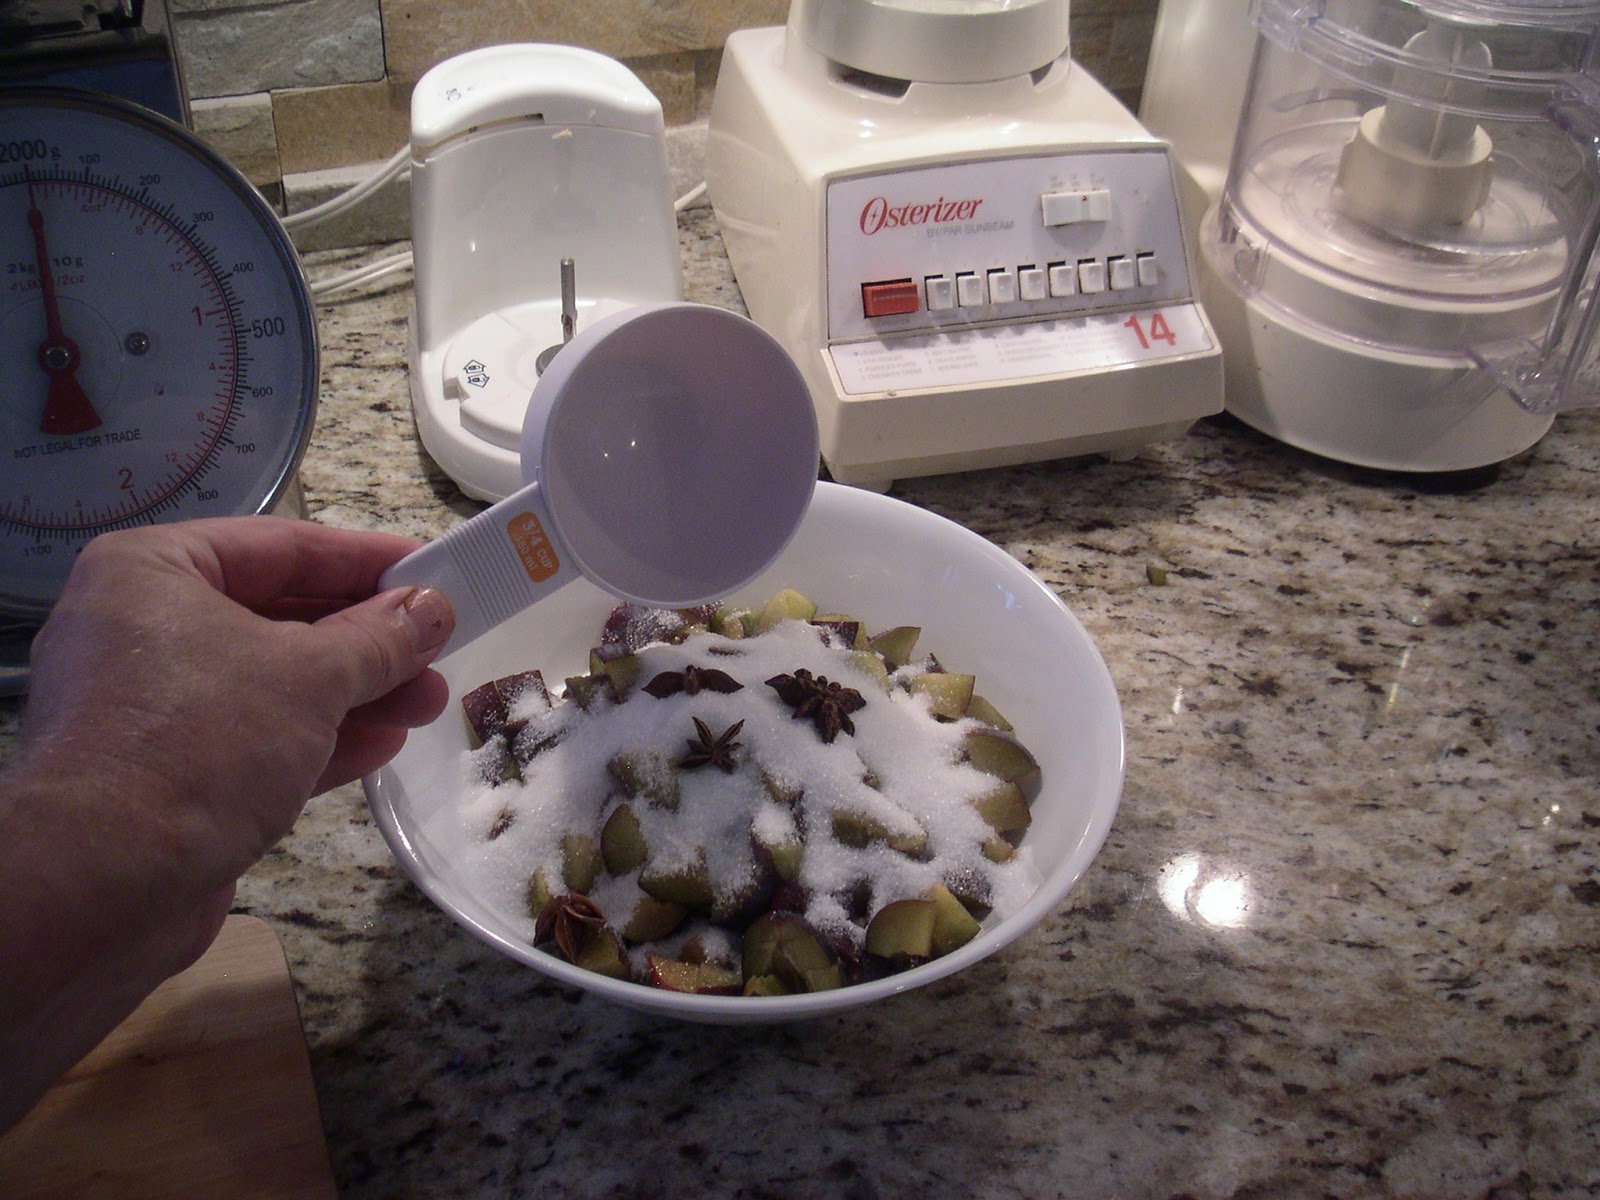
I didn't bother macerating the strawberries either, just trimmed, cored and halved or quartered them, adding them directly to the pot of thawed rhubarb. I reckoned I had about 6-7 cups of fruit altogether, so I guesstimated about 3 cups of sugar would do. As it turned out, I was running low on sugar and I had just over 3 cups left, so that's what I used. I didn't want to make jam, just stew the rhubarb together with the strawberries to create a sort of thick sauce to have on yogourt or oatmeal for breakfast (or over vanilla ice cream!)


Bring the whole thing to a full, rolling boil that can't be stirred down and cook until the strawberries are soft, about 10 minutes or so. Since the rhubarb had released so much juice during the thawing process, it more or less dissolved into the stew, but made for a lovely preserve nonetheless.

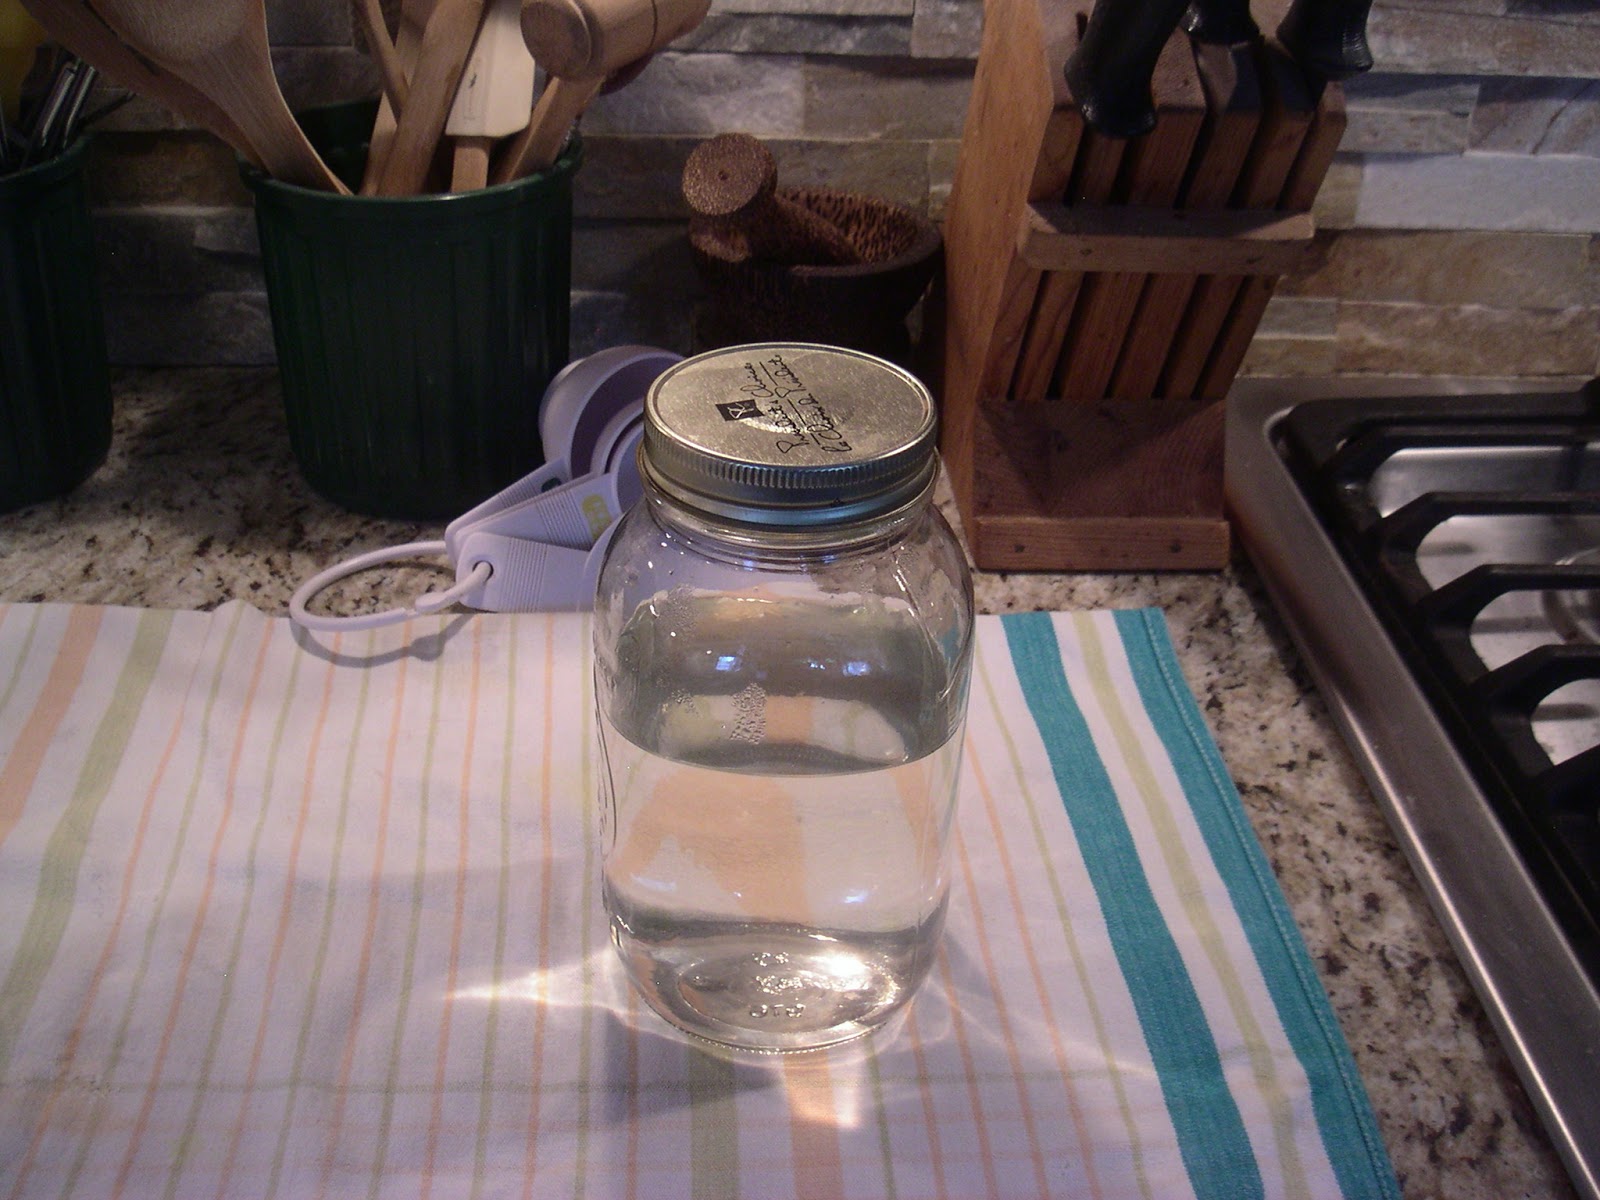
Ladle into hot sterilized jars and process for 20 minutes. See here for water bath canning instructions.

All in all a fine start. However, it all went downhill from here.

The peaches I bought yesterday at the farmer's market look perfect and seem completely ripe, but when I tried to blanch them to remove their skins, they wouldn't budge.


Similar to preparing tomatoes for canning whole, halved or diced, I set up a large pot of boiling water, a bowl of ice water, another bowl for the peeled peaches and a plate to catch the skins. No matter how I tried, though, the skins would not release. The peaches are obviously not as ripe as I thought they were. 

So, I will leave them for a bit and hopefully they will ripen up.

After aborting the attempt to can the peaches, I turned to my meagre collection of tomatoes that I had gleaned from my garden over the past few weeks. Compared with last year, these are truly pathetic. Like the peaches, they look ripe, but when I tried blanching them, the skins were difficult to remove. I did manage to peel them all, but it took a fair bit of determination and effort. The tomatoes are small, hard and not very plump and juicy like they were last year and I put this down to the severe drought-like conditions we had here in July. Despite my regular watering, there just wasn't enough good rain. So, the garden has definitely suffered.

Having peeled and diced the few tomatoes I had, I decided at the last minute to take the collection of cherry tomatoes I had in the fridge, halve them without peeling them and add them to the diced tomatoes. A lot of the cherry tomatoes I picked recently are split, which is due to the large amount of rain we've received in a relatively short period of time over the last few weeks.


I must admit I do like the colourful mixture of the various types of tomatoes. I just wish there were more of them! So, I brought the tomatoes to a boil, then put them in hot, sterilized jars with bottled lemon juice (1 tbsp for pint jars, 2 tbsp for quarts) and processed them for 40 minutes.


All this for one 750ml (1 1/2 pint) jar and half a 1/2 pint jar. Sigh! Well, next weekend, it being the Labour Day weekend, hopefully I will have suitably ripe, fresh produce and will make up for this rather dismal canning session.

Saturday, August 27, 2016

The Dog Days of Summer

Although we are a couple of weeks past the official "dog days", the hot humid weather continues here in Southern Ontario keeping us all in that slow, lazy, languorous state associated with late summer.


It's been a rather weird growing season as well.  After a cool and rather wet spring and early summer, for most of July we were in a severe drought with very little rain at all. Then August brought us a few decent rainfalls while still keeping the temperature hot.


What resulted is a garden that sprang to life, tomatoes and cucumbers full of blossoms and fruit which then seemed to come to a screeching halt through most of July.  I had lots of hard little green tomatoes which just refused to develop no matter how diligent I was about watering.  It was very strange -- everything was healthy and green, not shrivelling up and dying, but nothing was growing.

The cucumbers have been coming in very slowly -- one or two every week or so, so I've only managed to put up a couple of small batches thus far.  My beloved Black Brandywine Cherry tomatoes along with a new member of my garden this year, Sweet Gold Cherry have been acting similarly, coming in a handful at a time.  The full-size Black Brandywines have been very sluggish and I've only picked three ripe ones so far with only another 4 or 5 green ones left on the vines.

As for the plum tomatoes, I nearly lost all of them to blossom end rot, but fortunately I sprinkled some bone meal around all the plants quickly enough to stop it from developing further.


Blossom end rot is caused by a lack of calcium, which is provided by a liberal application of bone meal. Ideally some bone meal should be sprinkled in the hole before planting with a light top-up later in the season.  Blossom end rot is characterized by circular dark brown lesions on the blossom end of the fruit as in the picture above. It's not contagious and all you need to do is remove the afflicted fruit and throw it out.

I'm still coming across a few diseased tomatoes, but they're few and far between now. And now with a number of good rain showers plus the continued heat, the tomatoes are finally starting to ripen.


It's nowhere near what last year's harvest was, so there is a lot less canning from the garden happening this year. 

Today's harvest

Instead, I am supplementing with produce from the farmer's market. This morning I went back out to the Port Credit Farmer's Market and picked up 2 liters of Ontario strawberries (the everbearing ones are still around although starting to dwindle), a 3 liter basket of freestone Ontario peaches and a 3 liter basket of Ontario plums.

The peaches and plums are destined to be canned in a very light syrup to be spooned over yogourt for breakfast on the coming dark mornings of winter. I will stew the strawberries together with some late-season rhubarb that my friend Fred gifted me.

First off, though, I wanted to add the few cucumbers I picked this morning to the ones in the refrigerator crisper and put up another couple of pints of pickles.


Same with the tomatoes. I figure I have enough now for a couple of jars of diced and a couple of the ones in the crisper are starting to go soft, so I will definitely get to that tomorrow.

While I was looking up the instructions for canning plums in very light syrup, on a whim I flipped through my jam recipes to see if there was anything plummy that might strike my fancy. And indeed there was! This one for Plum Jam with Star Anise sounded so simple and good I just had to try it. It calls for a pound of plums and the 3 liter basket I bought gave about 2 1/2 pounds so I thought I would try a batch of jam and put up the remaining 1 1/2 pounds in very light syrup.


So, tomatoes forgotten for the moment, I set about prepping the plums. I weighed out a pound of plums for the jam, then cut them in half, dug out the pit and chopped the fruit into small pieces.


Three quarters of a cup of granulated sugar and 3 star anise are added to the chopped plums then mixed well and set aside to macerate for an hour or so to let the star anise infuse the mixture.

I then pitted the remaining plums and cut them into quarters.


One pound of pitted and chopped plums macerating in 3/4 cup white sugar and 3 star anise on the right ready for jamming and 1 1/2 pounds of pitted and quartered plums on the left ready to be canned in very light syrup. After an hour of macerating, the star anise has infused the chopped plums and sugar with an exquisite warmth. It's truly a combination worth trying!


The quartered plums are now simmering in a very light syrup which is 1/2 cup white sugar dissolved in 5 cups of water and brought to a boil. I used half of the syrup here for the plums and I allowed the remaining syrup to cool to room temperature before putting it in the fridge in a quart mason jar.


I will use this tomorrow when I do the peaches.


The jam is made in a non-stick frying pan instead of a saucepan so that the wider surface area allows the jam to cook up and set quicker.


I had originally thought I would use 2 jam jars for the jam and 2 pint jars for the plums in syrup. It turned out that I only needed 1 jam jar (on the right in the picture above) for the jam and I had enough plums in syrup left over to fill the other jam jar as well as the 2 pint jars. 

The jam only needed 10 minutes processing whereas the plums in syrup needed 20 minutes, so I put them all into the canner together and then pulled the jam out after 10 minutes and let the rest of the jars boil for an additional 10 minutes.

Tomorrow I will tackle the tomatoes, the peaches and the strawberries and rhubarb.

Sunday, August 7, 2016

Easy Garlic Dill Pickles

There are many wonderful canning recipes out there for dill pickles and I have tried a number of them with great success. However, for this first batch of pickles this year I have decided to take the easier route and use Bernardin's pre-mixed dill pickle mix.


My pickling cucumbers have been coming in one or two at a time, so I've been collecting them over the last few weeks until I finally have enough for a couple of quarts or so of pickles. What you see in the picture above is about 4 pounds of cucumbers and as you'll see I ended up with 3 quarts of pickles.

The first step is prepare the cucumbers by first washing them, then trimming off both ends. It's essential to trim off the blossom end at least as the remains of the blossom contain an enzyme that will cause the pickles to go soft. Actually, the real first step is to prepare a water bath canner and few jars. I'll come back to the jars in a moment.

I decided to cut half the cucumbers into spears and use my mandoline on the other half to cut them lengthwise into sandwich slices.


The next step is to mix up the pickling brine and get it boiling.


This is simply 2 cups of water, 1 cup of white vinegar and 1/4 cup Bernardin's Dill Pickle Mix. Combine in a saucepan and bring to a boil while the water bath canner is heating.

The jars I'm choosing to use are what I suppose could be called "antique" as they have not been made for quite a while now. There are two types -- Crown and Gem -- and both were manufactured in Canada.


The jar on the right is a Gem jar and the one on the left is a Crown. They are similar but their lids are different. Both are glass and require rubber rings to seal. 

The Gem jar lids are closer to the modern snap lids in that the rim of the lid is higher than the center, the rubber ring fits around the underside edge of the lid (much like the sealing gum on the underside of a modern snap lid) and the rubber ring is placed in contact with the rim of the jar and held in position with a metal (in this case, zinc) band. Again, very similar to modern canning jars. By popular demand, since Gem jars are still being used (more so in Western Canada), Bernardin sells snap lids and rings specially to fit them as they are an odd size in between regular jars and wide-mouth jars.

Crown jars are slightly different in that the glass lid is more like a cap with an edge that sits over the rim of the jar so that the rim of the jar is actually inside the lid. The rubber ring is therefore placed around the outside of the jar rim and the glass lid is placed on top of it then secured with the zinc band.

The picture above shows the jars already packed with cucumbers ready for the brine to be added, but before that happened, I gilded the lily a little.


To each jar I added 2 peeled garlic cloves that I lightly bruised under a knife first by pressing down firmly with the heel of my hand just until the clove cracked slightly. I didn't want to smash the cloves, but just crack them a little so they would release their garlicky goodness into the brine.

I also added a pinch each of yellow mustard seed and black peppercorns as well as a sprig of fresh dill from my garden.

Then into the canner for 15 minutes once it was back up to a full boil.


The result:  3 quarts of garlic dill pickles. These need to age for 4-6 weeks for the proper flavour to develop and unfortunately 2 of my 3 jars did not seal, so once cool, I tightened the bands as much as possible and put them in the fridge to to age.  I will treat them as refrigerator pickles as they are not shelf-stable. I am suspecting that I did not properly wipe off the rims before closing the lids as there is more to consider with these lids than the modern snap lids. I should have taken care to make sure that not only the rims of the glass lids were free of any spilt brine, but the surface of the rubber sealing rings as well. I do love the old-fashioned look of the pickles in these jars, but I will take care in future when using them to make sure all surfaces are residue-free so I don't lose any more jars to failed seals.

Tuesday, August 2, 2016

Pantry in Action: Japanese-style Chicken Curry

The "Pantry in Action" series shows creative ways of using all the wonderful food we've preserved during the year. I will include recipes wherever appropriate with links back to the post(s) where a particular ingredient (or ingredients) was canned.


Okay, including this wonderful recipe in the Pantry in Action series is a real stretch since the only ingredient I have in my pantry right now is some tomato paste.  However, loving a good curry as I do, I couldn't not share this. The original recipe was published in the Toronto Star on July 16 and is actually called Chicken Katsu Curry from Scratch, but, as usual, I have tweaked it to make it freezer-friendly.

The chicken katsu is actually skinless, boneless chicken breasts, pounded thin, breaded with panko, fried until crispy then sliced into strips and served alongside the curry.  I figure the lovely crispness of the panko encrusted chicken would suffer by being frozen and thawed, so in order to make this dish more freezer-friendly (think re-stocking the freezer with ready-to-go meals), I decided to forgo the breading and frying and simply cube the chicken and include it in with the curry.


Thus, the four-part original recipe (which you can find here on the Toronto Star website) is reduced to three parts: the curry powder, the roux and the curry itself. 


The curry powder is lovely and reminds me very much of the Kowloon Curry powder I once had from Monsoon Coast, in a similar-but-different sort of way.


It couldn't be simpler:  place 1/4 cup ground turmeric, 2 tbsp ground coriander, 2 tbsp ground cumin and 2 tsp ground cardamom in a small jar or tightly lidded container.  Close the lid and shake until well blended.  It makes about a 1/2 cup which is more than plenty for this recipe and leaves you with enough to add to your spice cupboard ready for the next curry adventure!


For this recipe however, we'll be using 2 tbsp of the powder in the roux and another 1 tsp in the curry itself. I've always used coconut milk, yogourt or a combination of the two as the base for my curry sauces and for some reason it's never occurred to me to base one on a roux despite the fact that I've been making rouxs for years to thicken soups, sauces and gravies. Funny how your mind gets into ruts sometimes. So, using a roux to thicken a curry sauce shouldn't have been a big light-bulb-a-HA moment for me, but it was. I was intrigued and interested in seeing how such a curry would turn out.


So, to start, I gathered all the roux ingredients together: all purpose flour, my freshly made curry powder, some cayenne, tomato paste from my pantry, Worcestershire sauce and butter.


Start a basic roux by melting 3 tbsp butter (the recipe calls for unsalted, but all I had was regular, salted butter so that's what I used) then stirring in 1/4 cup flour, 2 tbsp curry powder, 1/2 tsp cayenne (this gives it the perfect level of heat in my opinion, sort of a mild-medium -- you might like it hotter, or not, so add cayenne at your discretion), and a few good grindings of black pepper.


Keep stirring until a cohesive paste is formed. Then add 1 tbsp tomato paste and 1 tbsp Worcestershire sauce and stir some more until the mixture becomes dry and crumbly. Remove from the heat and set aside.


Gather the curry ingredients together. As mentioned above, I am including the chicken naked in with the curry instead of breading and frying it and serving it alongside. In addition, we have 2 medium white onions finely chopped, 2 large carrots scrubbed and sliced, 2-3 medium potatoes (Yukon Golds would probably work very nicely, but all I had were Russets so that's what I used), a small apple, 2 tsp kosher or sea salt and 1 tsp of that wonderful curry powder.


I cubed the chicken breasts and sautéed them with the chopped onion in a little olive oil in a large pot until the chicken is no longer pink and the onions are starting to caramelize, about 30 minutes.


Add the carrots and 4 cups of water and bring to a boil. Meanwhile, peel, core and grate the apple. The recipe states that the apple is essential to provide the subtle fruity undertone that is characteristic of Japanese-style curries.


Once back to boiling, add the potatoes, grated apple, salt and the curry powder to the pot. Lower the heat to medium and simmer until the carrots and potatoes are tender, about 30 minutes.


Gently push a ladle straight down into the curry and carefully collect some of the sauce without any of the chicken or vegetables. Collect two cups of sauce.


Pour the collected sauce into the pan of roux and whisk until smooth then pour the roux back into the curry and stir well until smoothly combined.  Cook 1 1/2 cups of basmati rice in 3 cups of water or chicken stock and divide evenly among six 2-cup freezer containers. Divide the curry evenly among the freezer containers.  You will probably have enough curry left over for another meal. Lucky you, dig in! 


This curry is so good it may be difficult to do, but if you can forgo having some immediately, refrigerate it overnight and have it the next day. Like chili, it definitely improves with age and the consistency of the sauce is perfect -- it's exactly what I have been looking for.  So, this one's definitely a keeper and I will try making it again and follow the recipe exactly, making the breaded and fried chicken katsu to serve alongside the curry.